

Learn how to build yourself a fire-pit
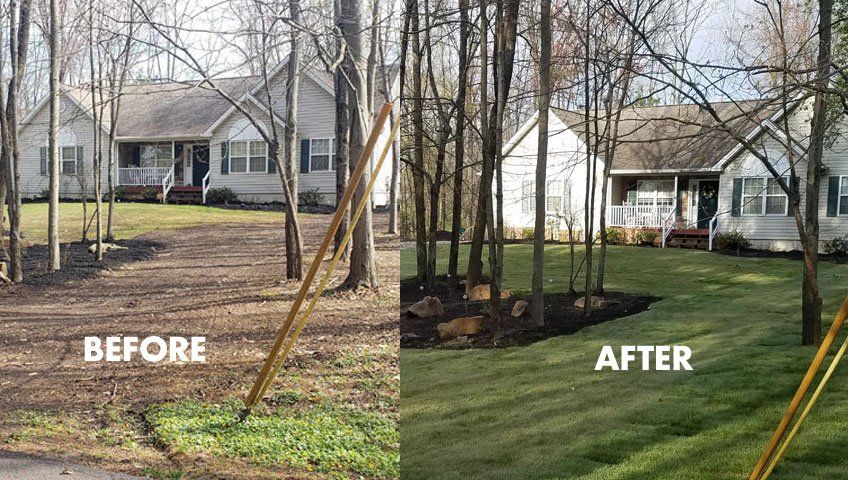
Learn how to lay your own sod
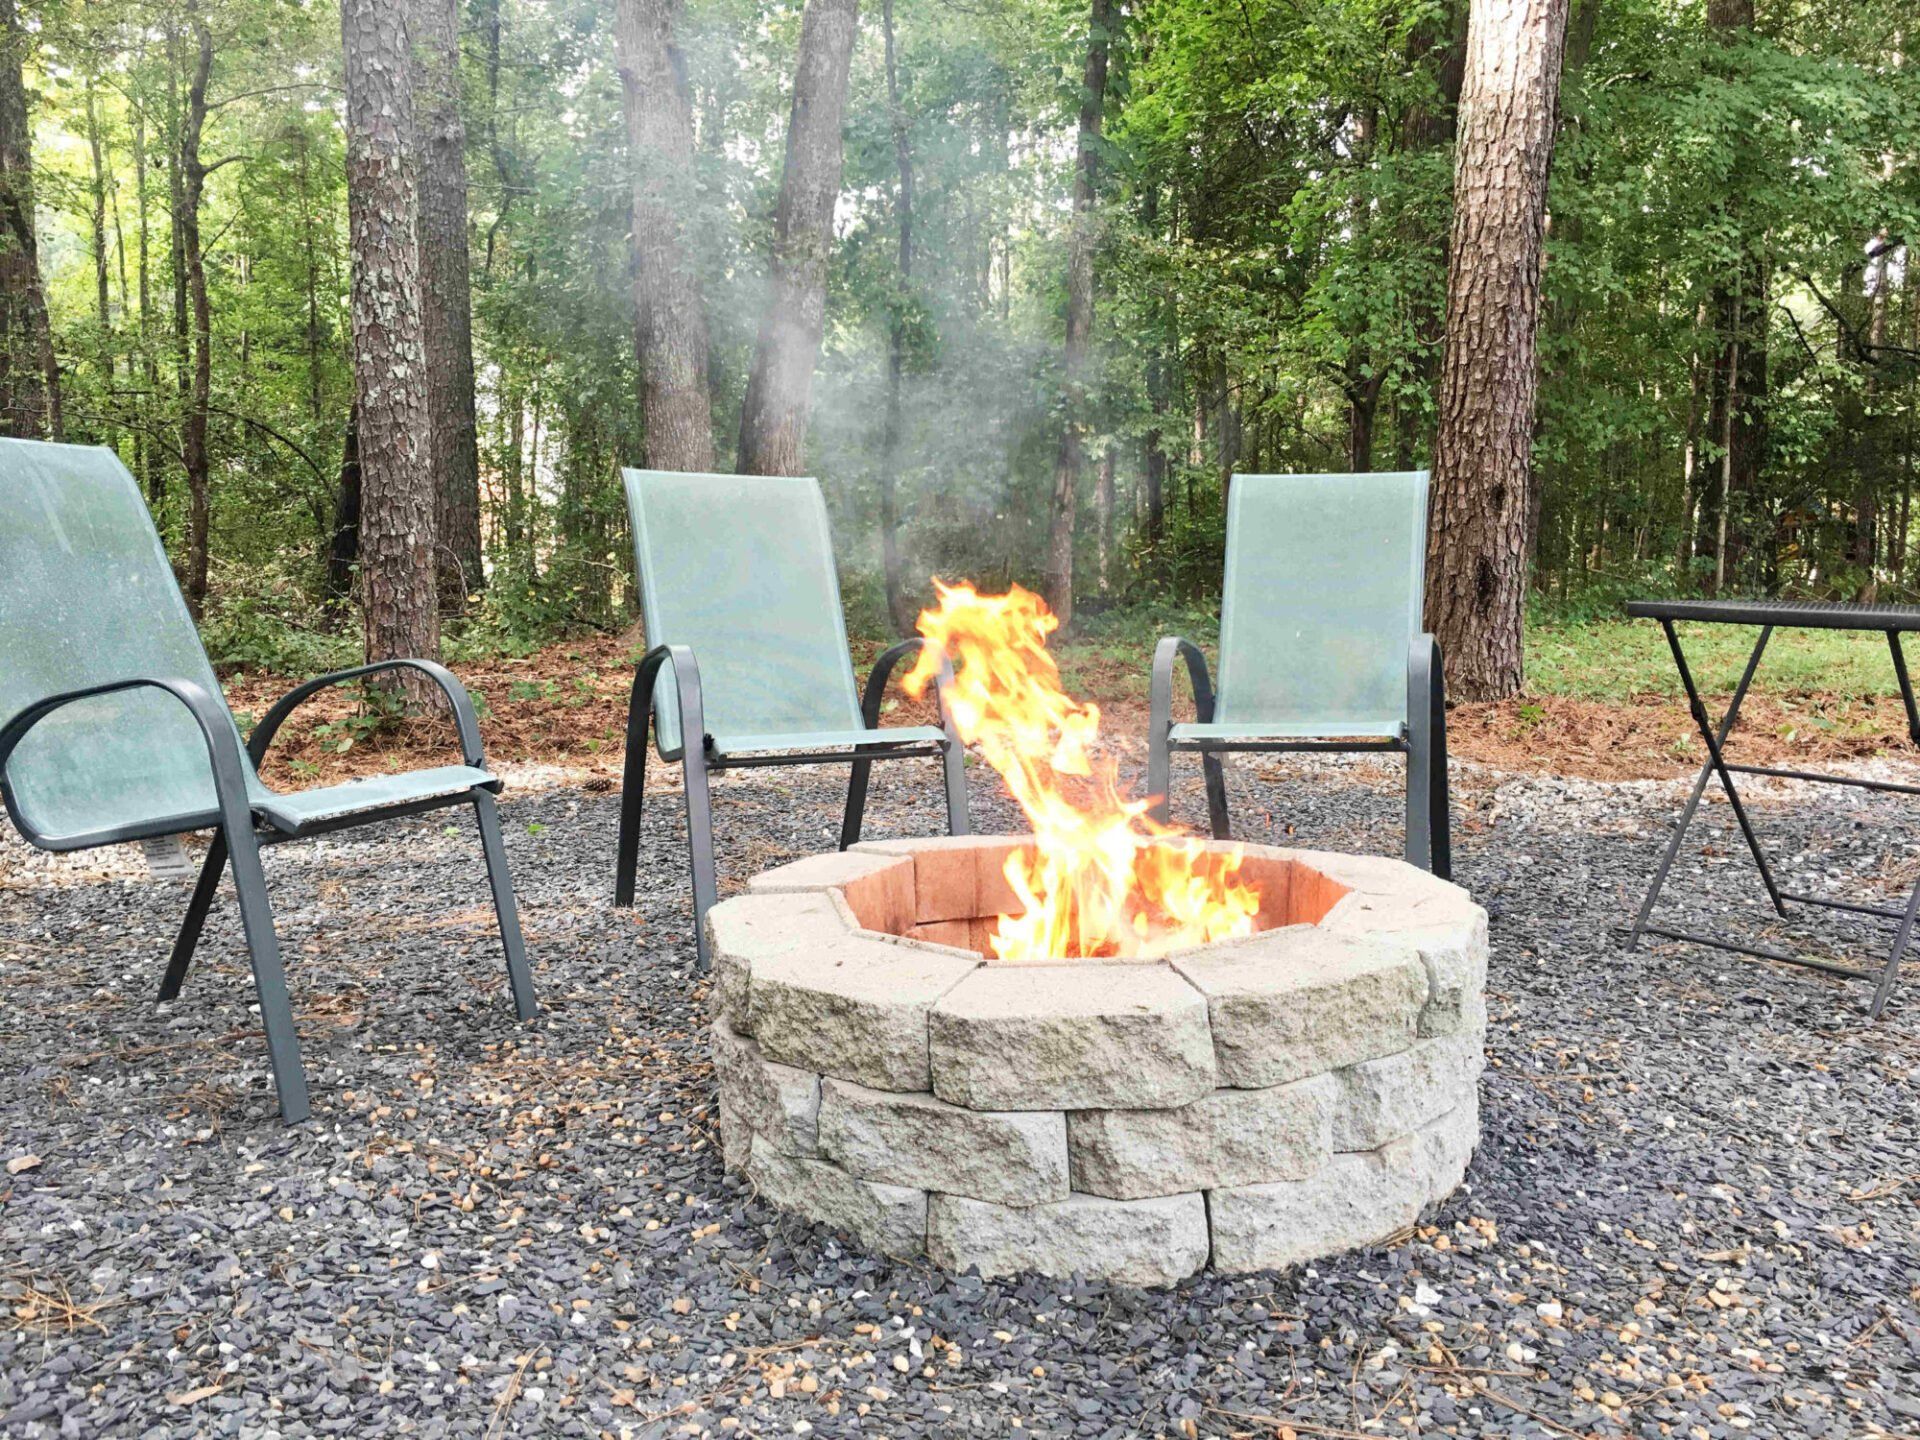
BUILD YOURSELF A FIRE-PIT
MATERIALS:
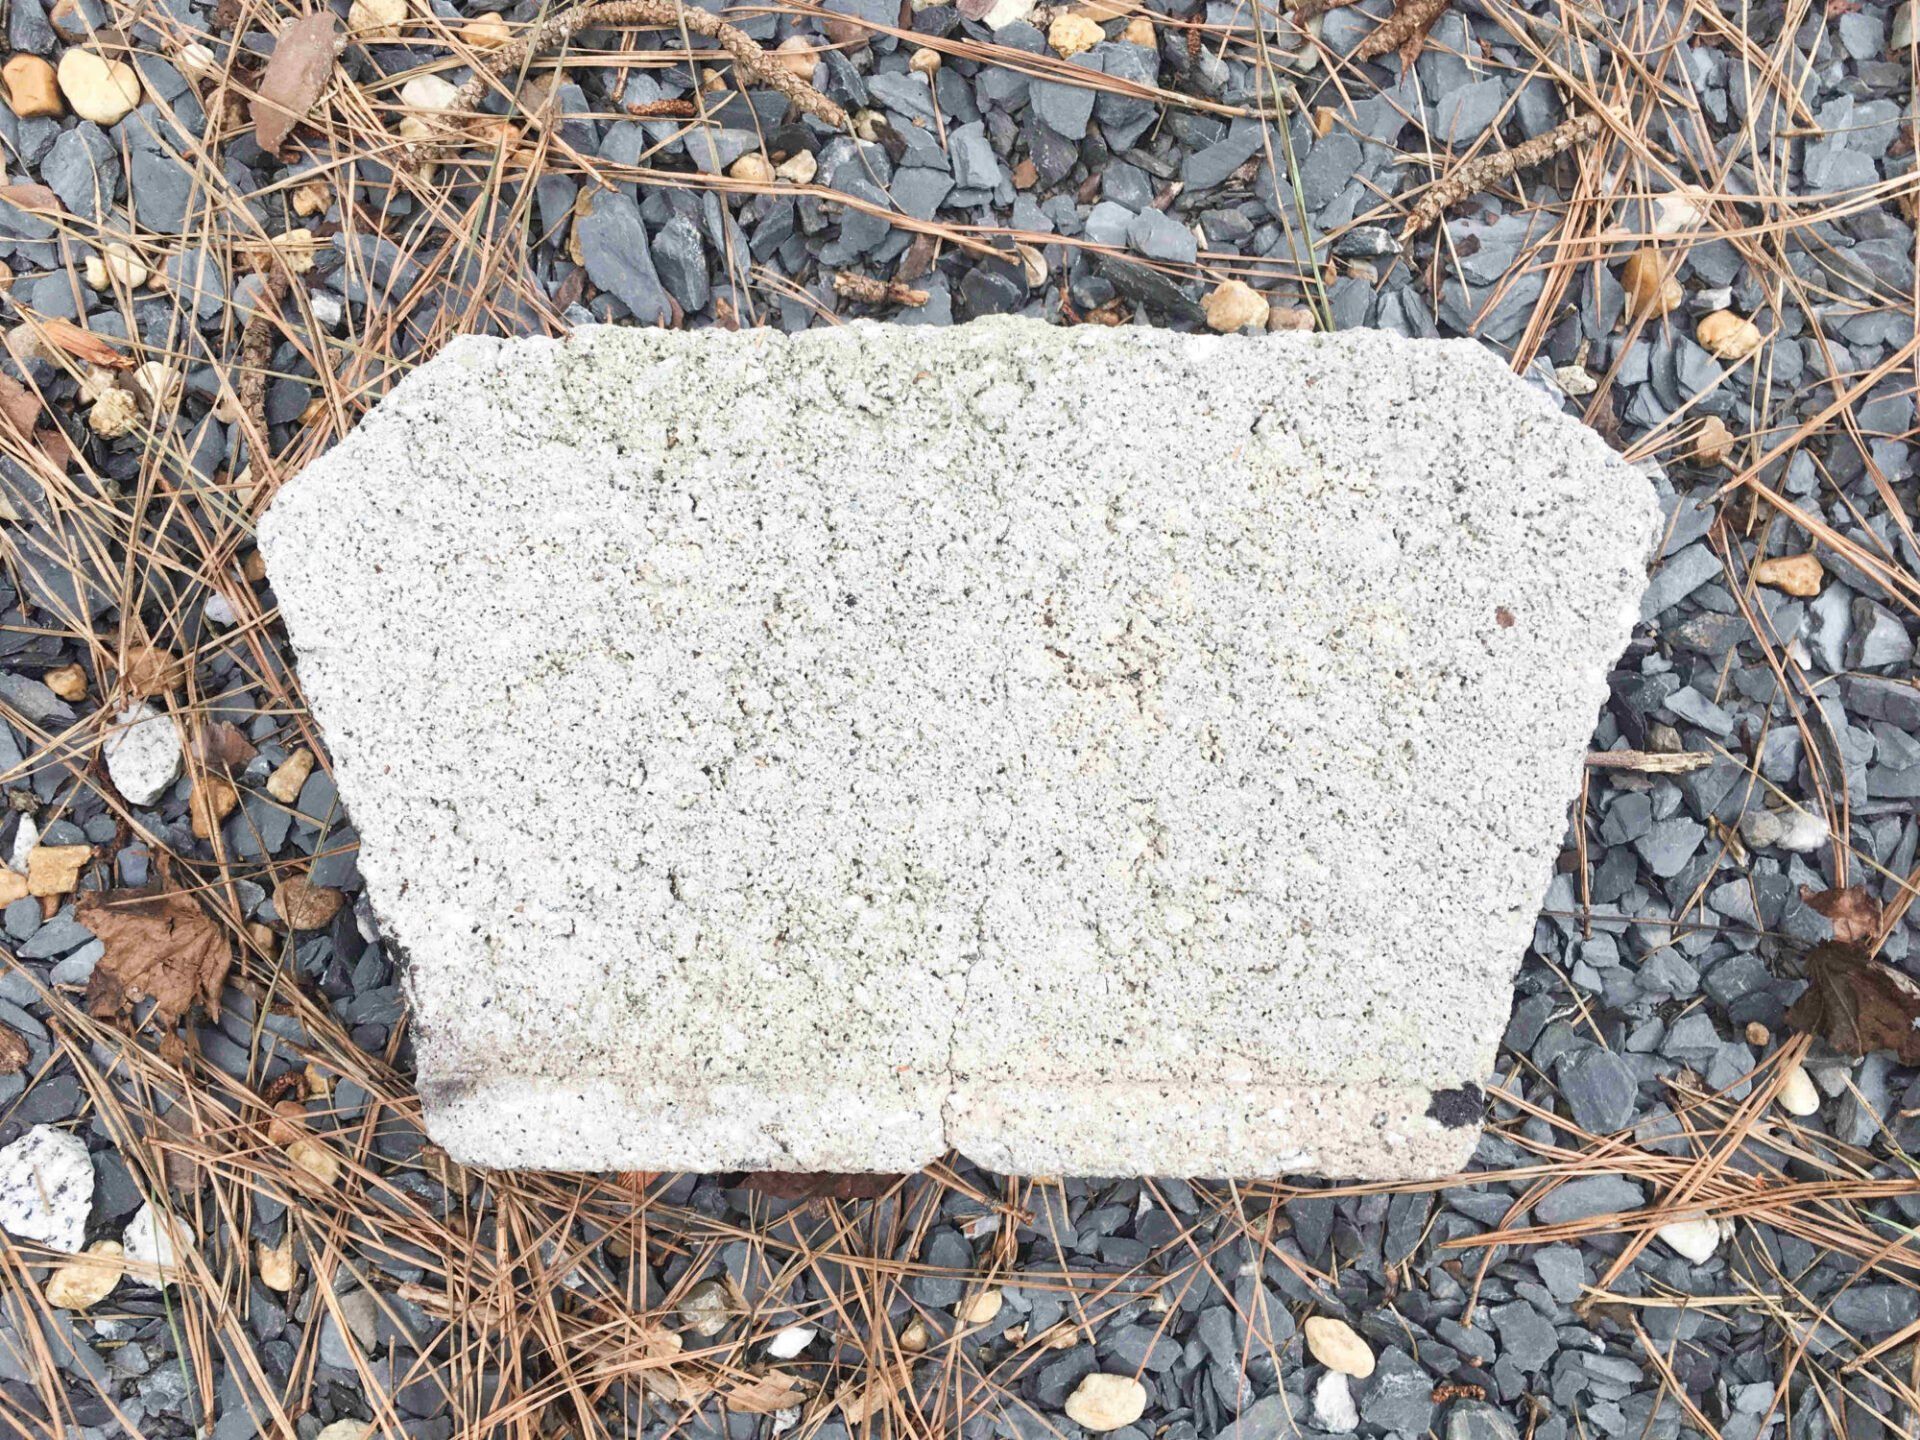
- 30 Pewter Concrete retaining wall blocks
- 1 bag of Pea Pebbles
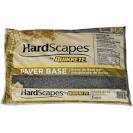
- 1 bag Paver Base
TOOLS:
- Shovel
- Water Hose
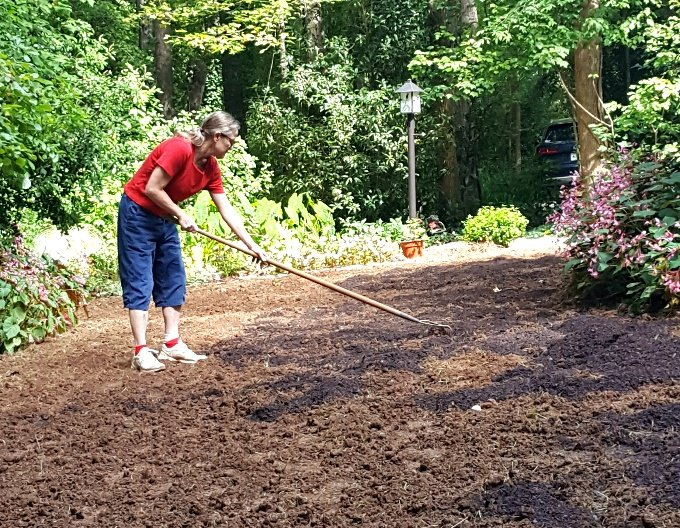
- Rake
- Level
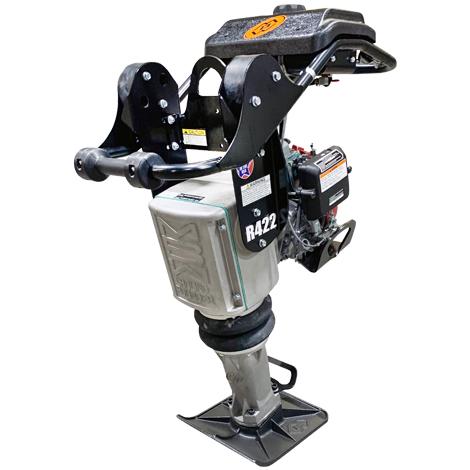
- Steel Tamper
- Landscape Block adhesive (Optional)
Make sure to pick out the location of your new fire pit with an eye for safety. Avoid excess tree cover (leaves/branches lower than 12’) and ensure you are far enough away from flammable materials.
STEP 1 - CLEARING THE AREA
If you are building your pit on top of grass, you must first remove the grass from a two foot area beyond the edges of the firepit by digging it out with a shovel.
If building on top of other materials use a rake to completely clear the top layer until dirt is completely exposed. Again, at least two feet beyond the firepit edges.
STEP 2 - DRY FIT YOUR BLOCKS
Place 10 blocks in a circle in the spot you want your firepit to be located. Mark the outer edge of the blocks with your shovel, then remove the blocks and set them aside.

STEP 3 - DIG DEEPER
With a shovel, dig inside the circle and remove 2” of dirt. Use a level to ensure the ground is even. Uneven ground can be leveled with a steel tamper.
STEP 4- INSTALL A PAVER BASE
Evenly spread the paver base throughout the cleared space (both inside the circle AND where the concrete blocks will be). Level and pack down with the steel tamper. Using your hose, dampen the paver base until softly saturated with water. The water will activate the powder and cause it to solidify. If you don’t have a hose, fill buckets of water and fully saturate base.
STEP 5- ASSEMBLE YOUR BLOCKS
Re-lay the 10 blocks in a circle, lip side down. Make sure they are tightly connected or touching. Apply the next layer of blocks, lip side up. Center each block above the seam on the block below. Assemble the third layer in same fashion, lip side up. If you purchased Landscape block adhesive, apply it between the blocks and layers as you go.
STEP 6- INSTALL THE PEBBLES
Pea pebbles act as a drainage system for the firepit, especially after it rains. Spread the pebbles evenly inside the concrete circle, over the paver base.
STEP 7- ENJOY!
Arrange your seating around the fire pit, call your friends and start enjoying your new creation!
SHOVELS - HOSES - RAKES - STEEL TAMPER: ALL AVAILABLE AT OK RENTAL!
LAYING YOUR OWN SOD
MATERIALS:
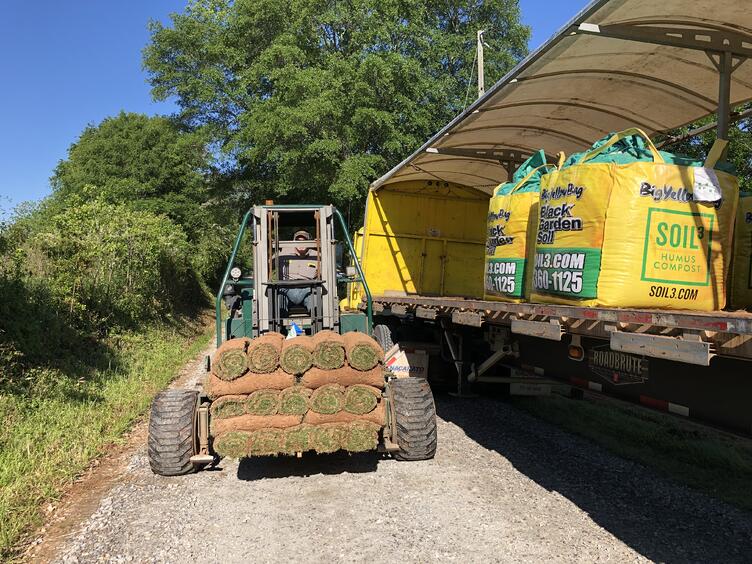
- Sod
- Fill Dirt
- Top Soil
- Sod Fertilizer or Seed Starter
TOOLS:
- Rototill or Skid Steer
- Shovel
- Rake
- Drywall Knife
- Hose
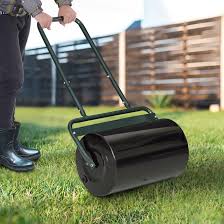
- Lawn Roller
- Tape Measure
- Lawn Mower
STEP 1 - REMOVE THE EXISTING LAWN
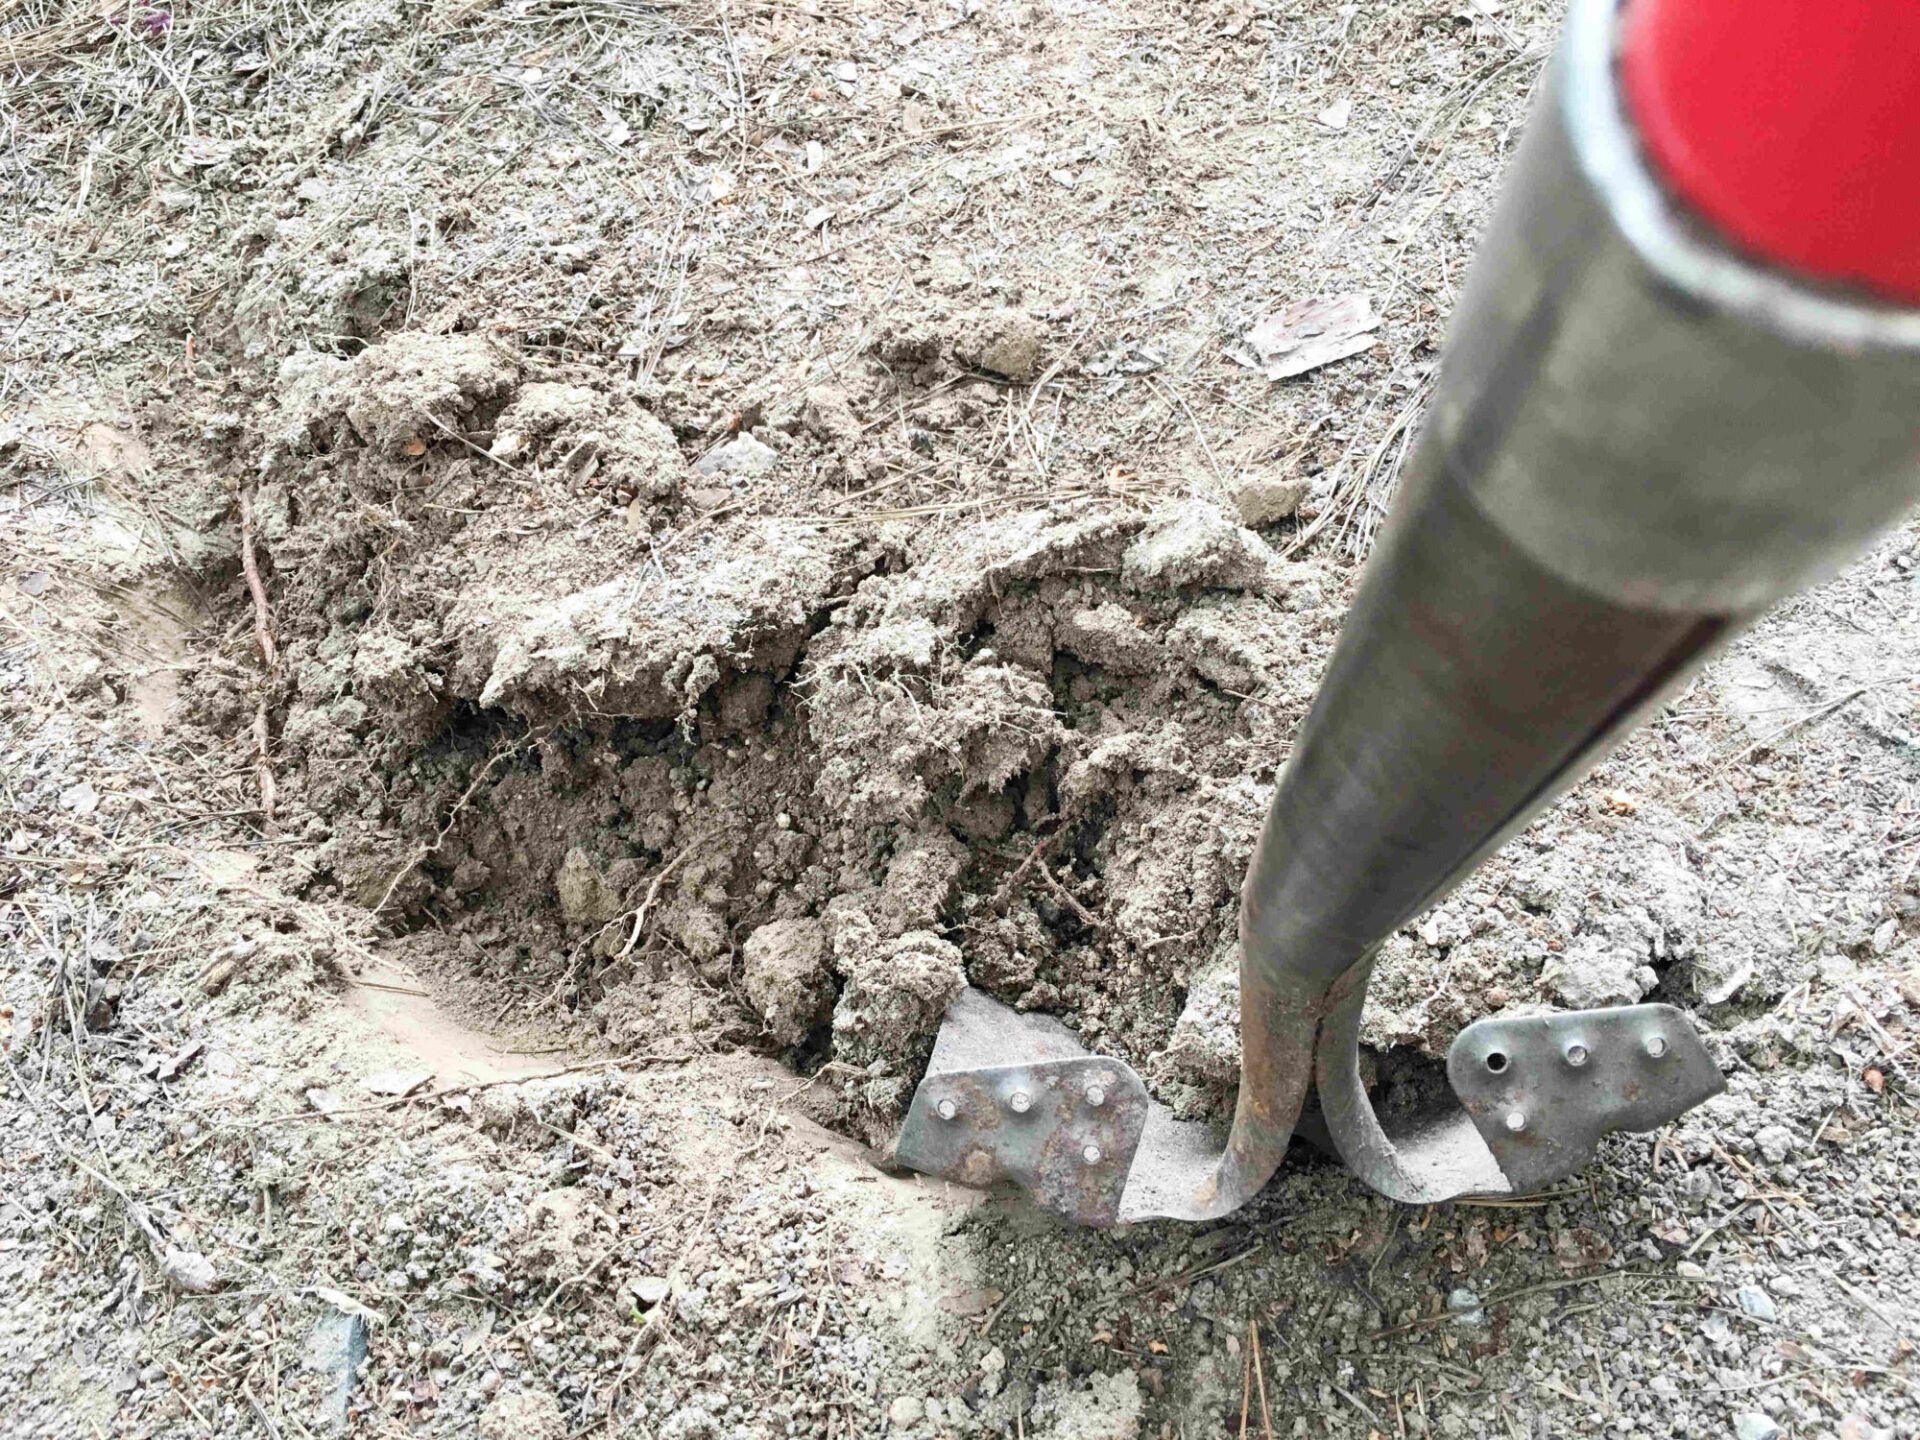
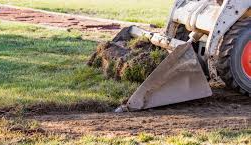
When installing sod over an existing lawn you must first remove the lawn or it will kill the sod above as it decomposes. Rototill to prep and loosen the soil on smaller lawns. For larger areas use a skid steer.
If you are planning to have a sprinkler system installed, now is the time to do so.
STEP 2 - FILL AND GRADE THE AREA
If you are creating a new area of lawn, use basic fill dirt with top soil. Make sure your grade is lower than surrounding structures such as a patio or walkway.
Use a rake to fine-grade the area.
Sod should sit lower than the walkway.
STEP 3 - PREP THE SURFACE
Apply a sod fertilizer or seed starter over the area, then use a lawn roller to settle and firm the surface.
STEP 4 - MEASURE AREA AND ORDER SOD
Measure your area and order the sod. Once it arrives you must install immediately or it will dry out and die. Arrange for it to be delivered early in the day so you have enough time to finish the job in one attempt.
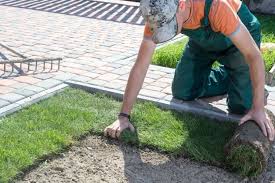
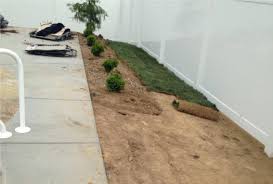
STEP 5 - BEGIN LAYING THE SOD
Start by laying sod along the longest edge of your chosen area. Stagger each new row in a brick-like pattern. Cut sod around any obstacles or edges with a drywall knife or spade. Make sure to lay each piece of sod tightly against each other. After laying 200’ of sod, use your hose to lightly water the area. Repeat this process until all sod is laid.
STEP 6 - RECOMPACT THE AREA:
Once all the sod is down, use the lawn roller to recompact the sod. Your goal is to ensure solid contact between the sod and the soil beneath
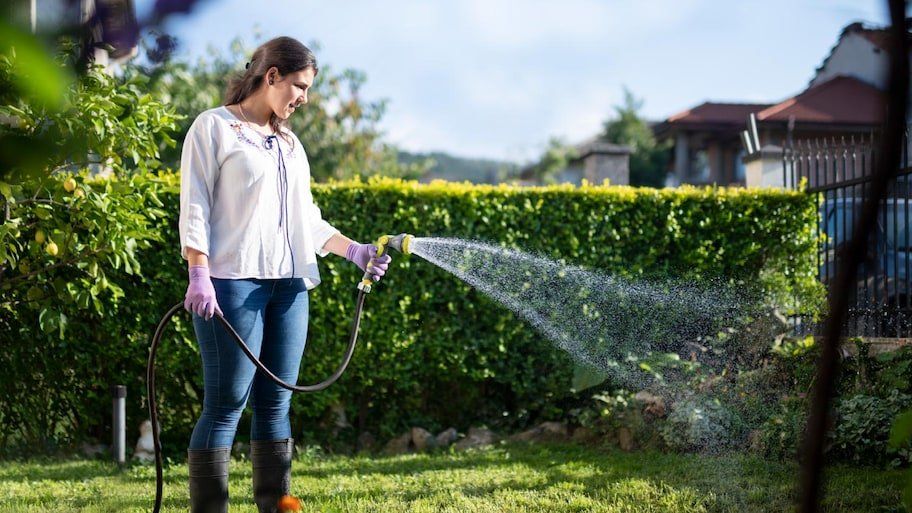
STEP 7 - WATERING
After you’ve laid all your sod, use your hose to water the area until it is good and soaked. Check the watering guidelines for your type of sod. Try to water as early as possible in the am, but not before 4:00am. Do not water during the heat of the day.
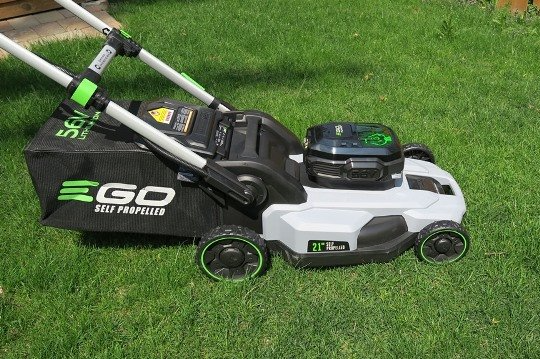
STEP 8 - MOWING
One week after installing your sod,
or once it is 3-3 ½” high, cut the grass.
STEP 9 - FERTILIZING
Fertilize your beautiful new lawn monthly.
SHOVELS - HOSES - RAKES - TILLERS - LAWN ROLLERS - LAWN MOWERS
ALL AVAILABLE AT OK RENTAL EQUIPMENT SALES AND SERVICE!
Rentals are available for daily, weekly and monthly terms.
Contact us for a quote and to reserve your equipment today.
Call (610) 583-3334
Share On: